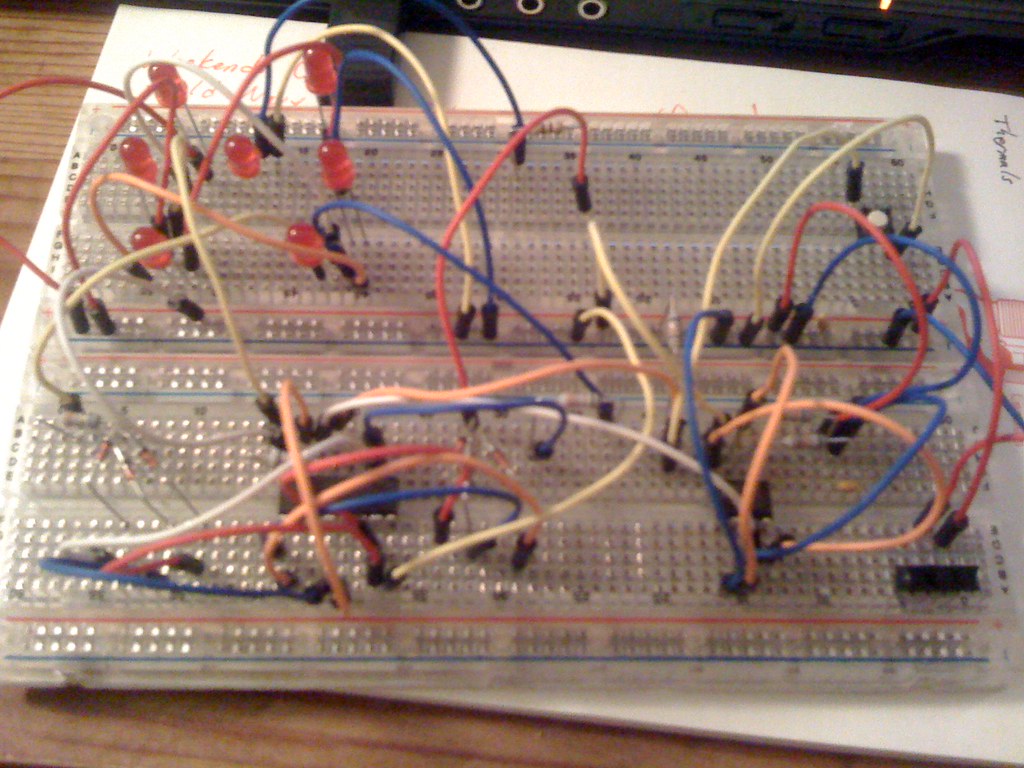
Once I was comfortable with the circuit, I went ahead and started to work on soldering one up on perfboard. Starting out, I had planned on making it look nice from the front and the back. Turns out thats a lot harder to do on the fly.
As I got closer and closer to finishing the board, I had to cut a lot of corners and make a lot of nasty runs of wire all over the board to reach where I wanted. It works, but it does not look very good at all.
I attribute this to a lack of planning ahead, and only having huge wire to work with at the time. It's also one of the first projects that I've converted from schematic to breadboard to perfboard.
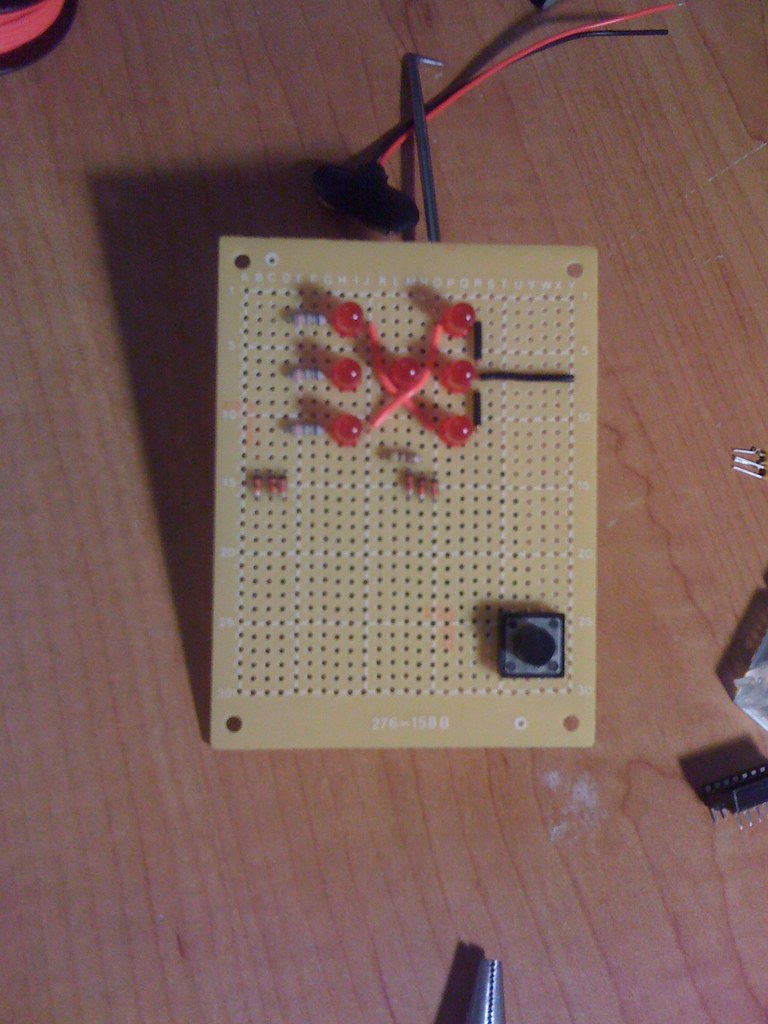
When I finished though, I got an idea for an electronic D20 dice using an Arduino and one of my MAX7219 chips. I quickly hit up the new breadboards I had put down and put down the basic circuit to play with. Once I had some basic code working I fired up the soldering iron.
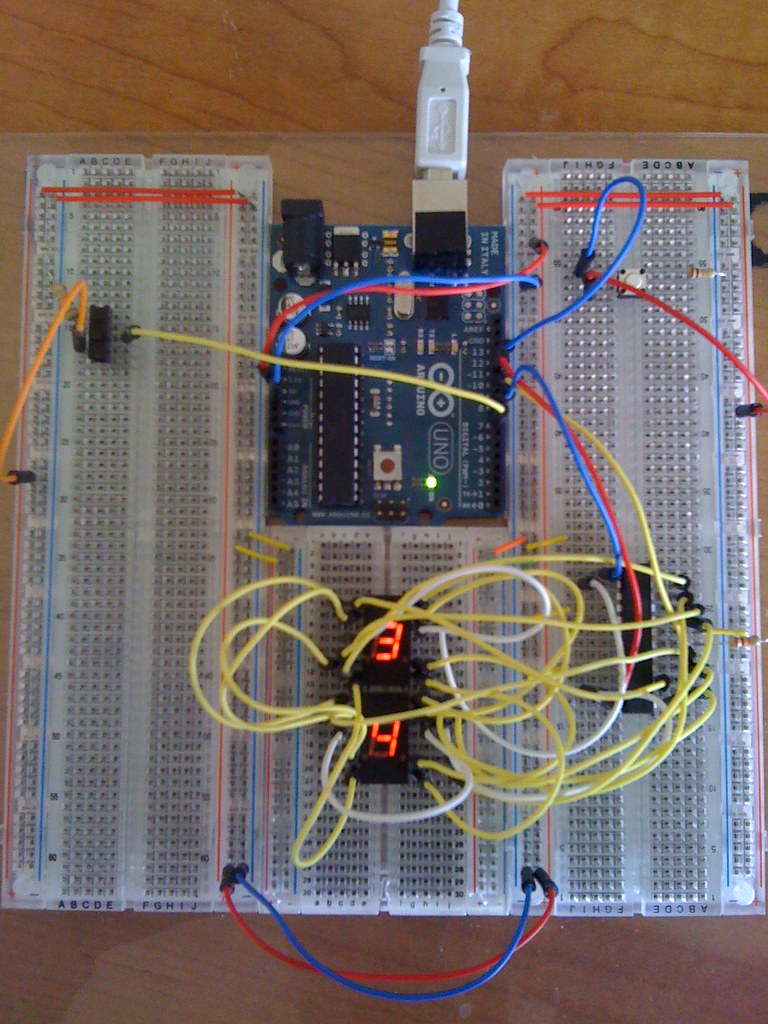
I started out with the same size board, but this one had generic traces laid out on the rear, with plenty of spots to tie into power and ground. I wouldn't need to make huge runs of wire like I had last time.
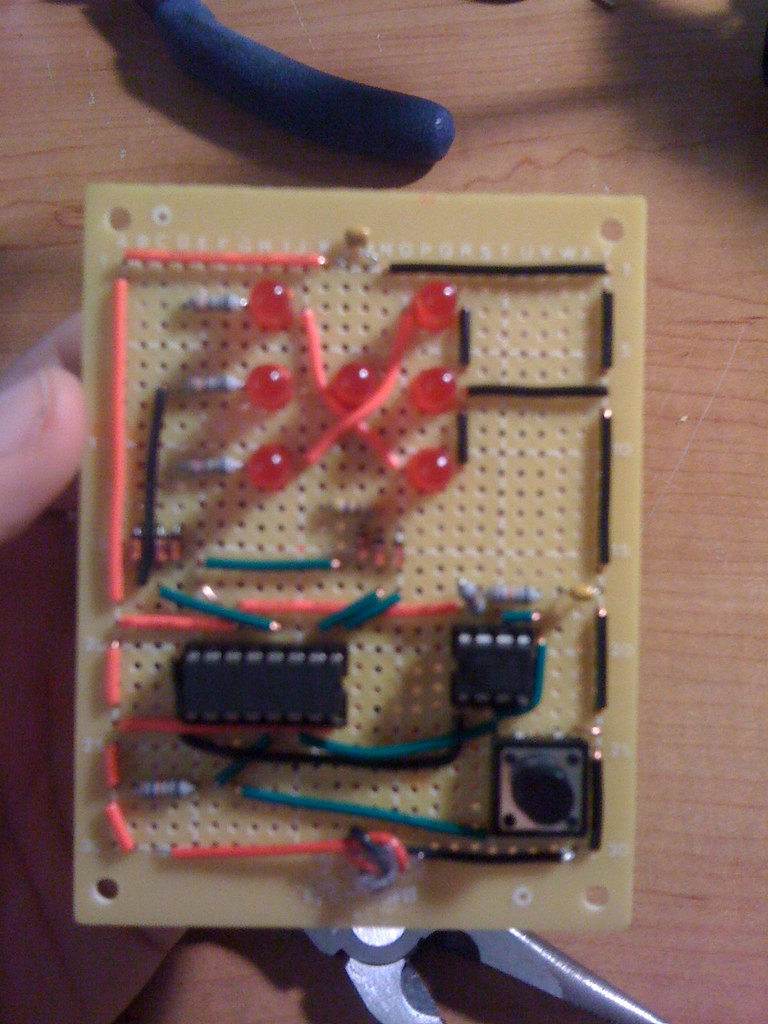
Once I started hooking this one all up, I noticed that I may run into the same problem that I did with previous projects: My wire is way too big to be trying to route around and have it look nice. Once I got the socket for the MAX7219 soldered down, I knew I had to do something different with my wire. I wasn't going to have enough room to make the connections needed!
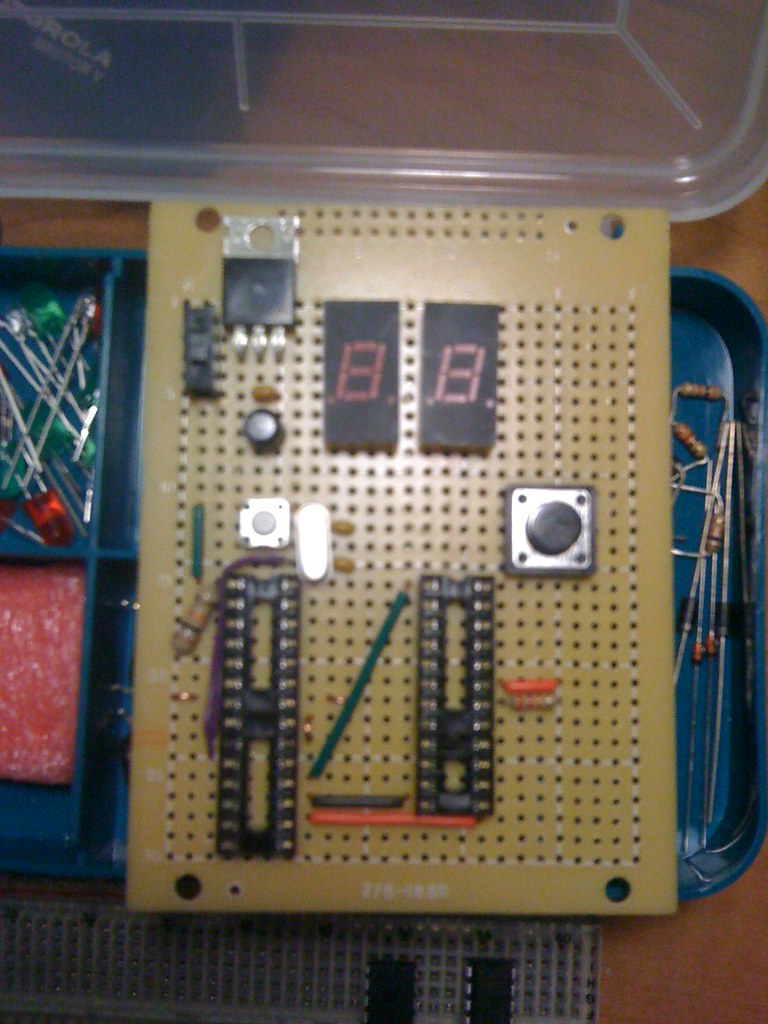
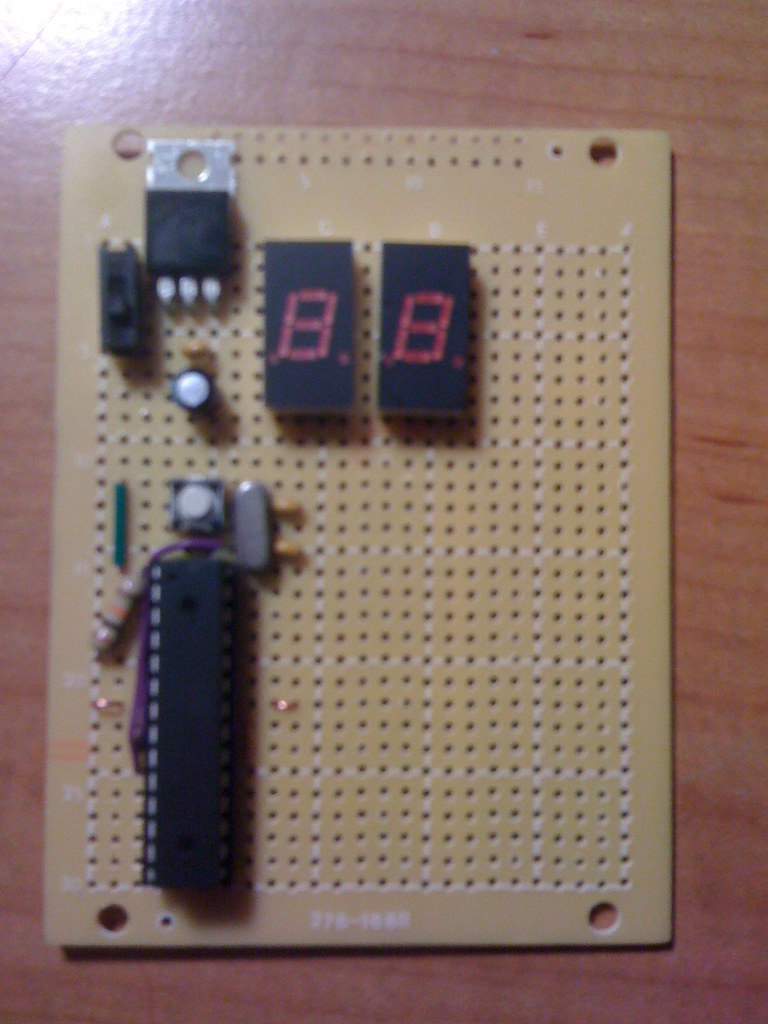
A quick trip to Radioshack solved that problem. $25 later I have 3 colors of 30AWG wirewrap wire, and the tool to go along with it. It was already too late to do the project the proper way of using wirewrap, but I had an idea. Just use the wirewrap as normal wire and solder it down where I needed it. Since it is so small I can easily bundle a bunch of wire together and they take up hardly any space at all. I think I've found a new way to make my projects! :)
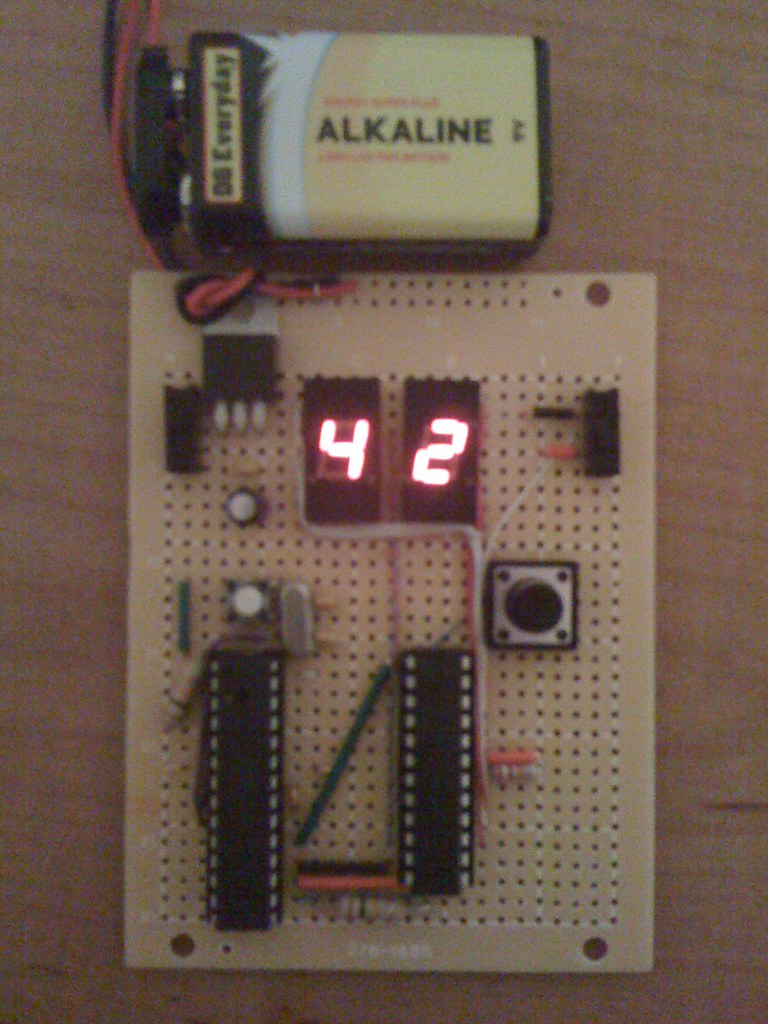
This one I am proud of, and everyone I show it to is really amazed at how nice it looks. The final product has a select switch to choose between a 20 sided dice, or a 100 sided. Coding the Arduino was a cinch. There is a handy built in random number generator that works great for this. On the first digit, select a random number between 0 and 2, on the second digit between 0 and 10. If both digits are 0, then force the first digit to be a 2 and you have a proper 20 sided die. The D100 didn't require anything like that at all. If both digits are 0, then it can be interpreted as 100.
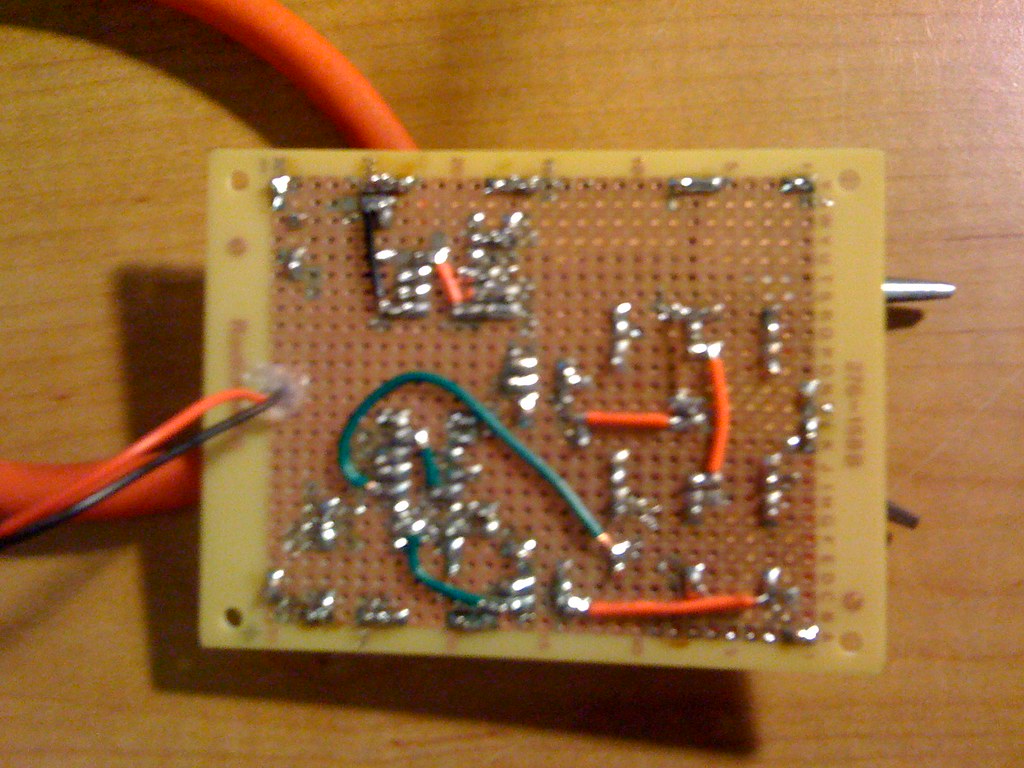
The AVR on board can still be reprogrammed as well, and I already have a few ideas on how to improve this board. By adding a temp sensor, I can display the ambient temperature in my apartment. A bit overkill for a thermometer, but hey.. I'm just tinkering. Speaking of.. I need to get back to working on version 2 of the 6 sided dice. I enjoyed the look of the 30AWG wire so much that I decided to build another dice, only this time I took what I learned and improved the design a lot more. That will be for a later post though.
No comments:
Post a Comment